快速上手
快速完成一个可运行区块
在这一章节,我们将一步步创建一个名为 feature 的区块。
目标
创建一个名为 feature 的区块,实现:
- 编辑器可配置标题和链接列表。
- 服务端可根据路由上下文补充一段动态信息。
- 前台与编辑器预览都能渲染一致结果。
步骤 1:创建目录
在 apps/web/src/blocks/collection 下新建目录,包含这五个文件:
Feature/
  definition.ts
  schema.ts
  types.ts
  fetcher.ts
  index.tsx
步骤 2:写类型
编辑 types.ts ,这里我们希望区块内容包含 title 和 links,运行时数据包含 links 和 note。
import type { BaseBlockConfig } from "@/blocks/core/types/base";

export interface FeatureContent {
  title?: string;
  links?: string[];
}

export interface FeatureLink {
  label: string;
  href: string;
}

export interface FeatureData {
  links: FeatureLink[];
  note?: string;
}

export interface FeatureBlockConfig extends BaseBlockConfig {
  block: "feature";
  content: FeatureContent;
}
步骤 3:写编辑器 schema
编辑 schema.ts,定义用户可以更改哪些设置。
import type { BlockFormConfig } from "@/blocks/core/types/field-config";
export const FEATURE_BLOCK_FORM_CONFIG: BlockFormConfig = {
// 区块的基本信息
blockType: "feature",
displayName: "Feature Links",
description: "功能链接区块",
author: { name: "你的名字", url: "https://your-website.com" },
// 下面指定两个可配置字段
fields: [
{
label: "标题",
path: "title",
type: "text",
placeholder: "请输入标题",
},
{
label: "链接列表",
path: "links",
type: "array",
placeholder: "每项格式:名称|链接,例如 GitHub|https://github.com",
},
],
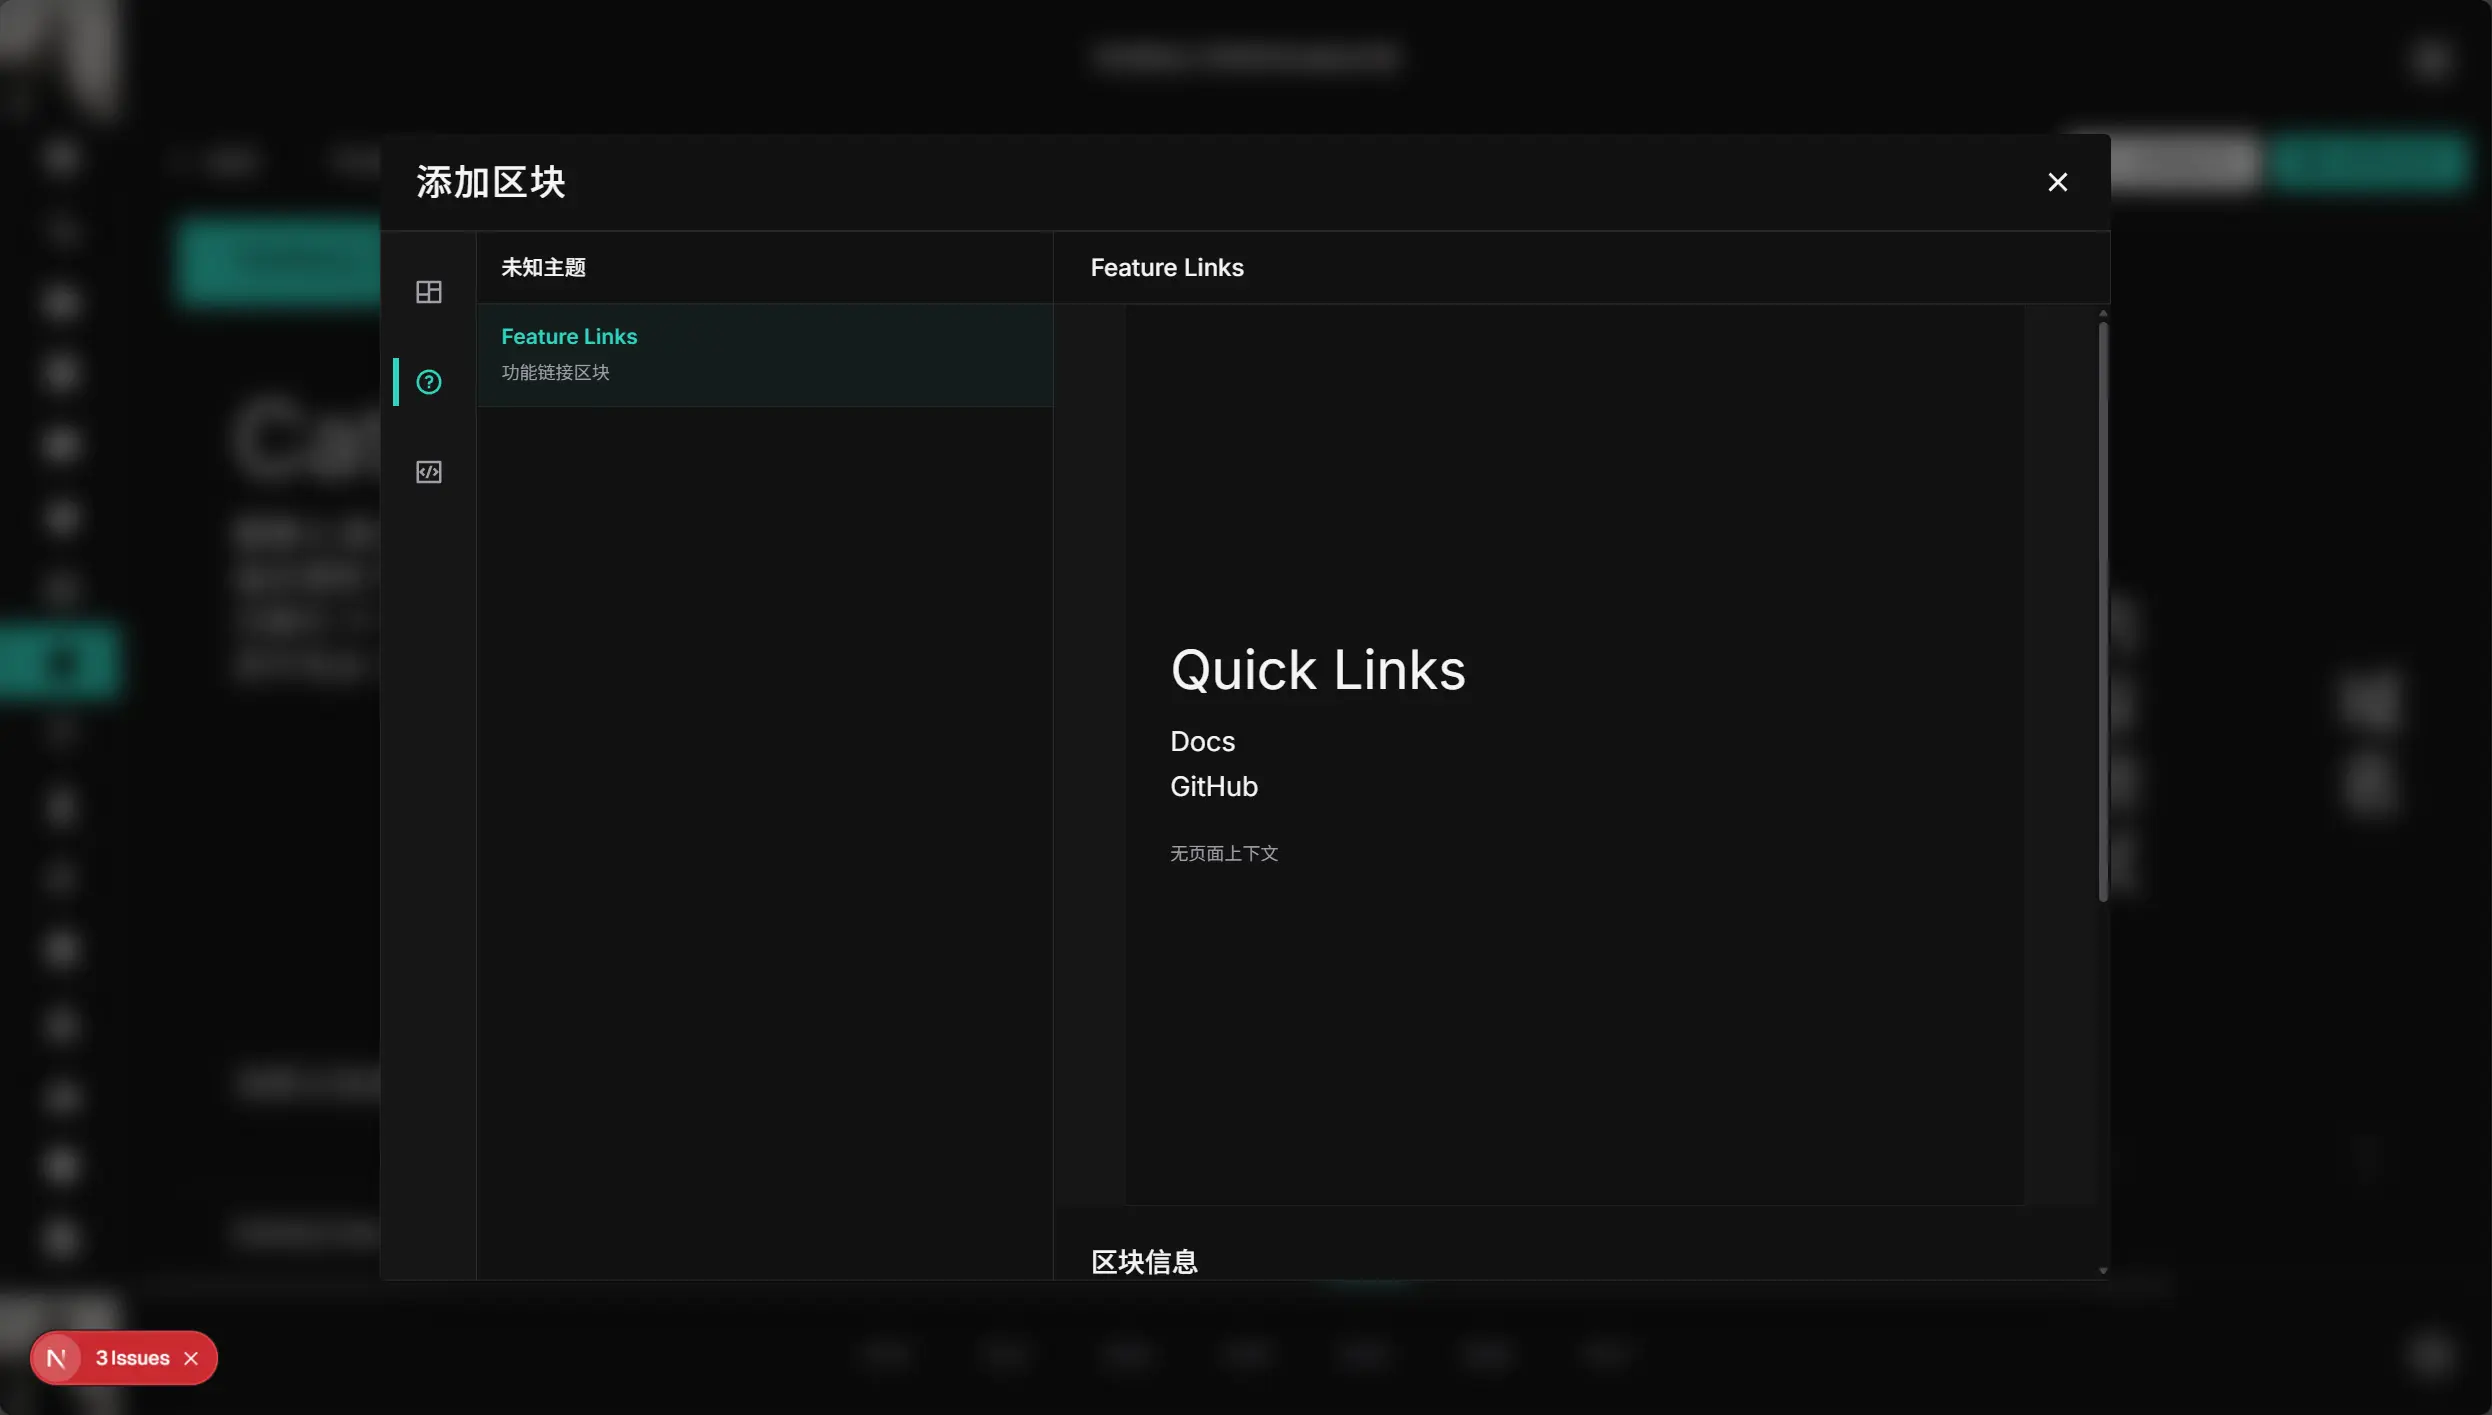
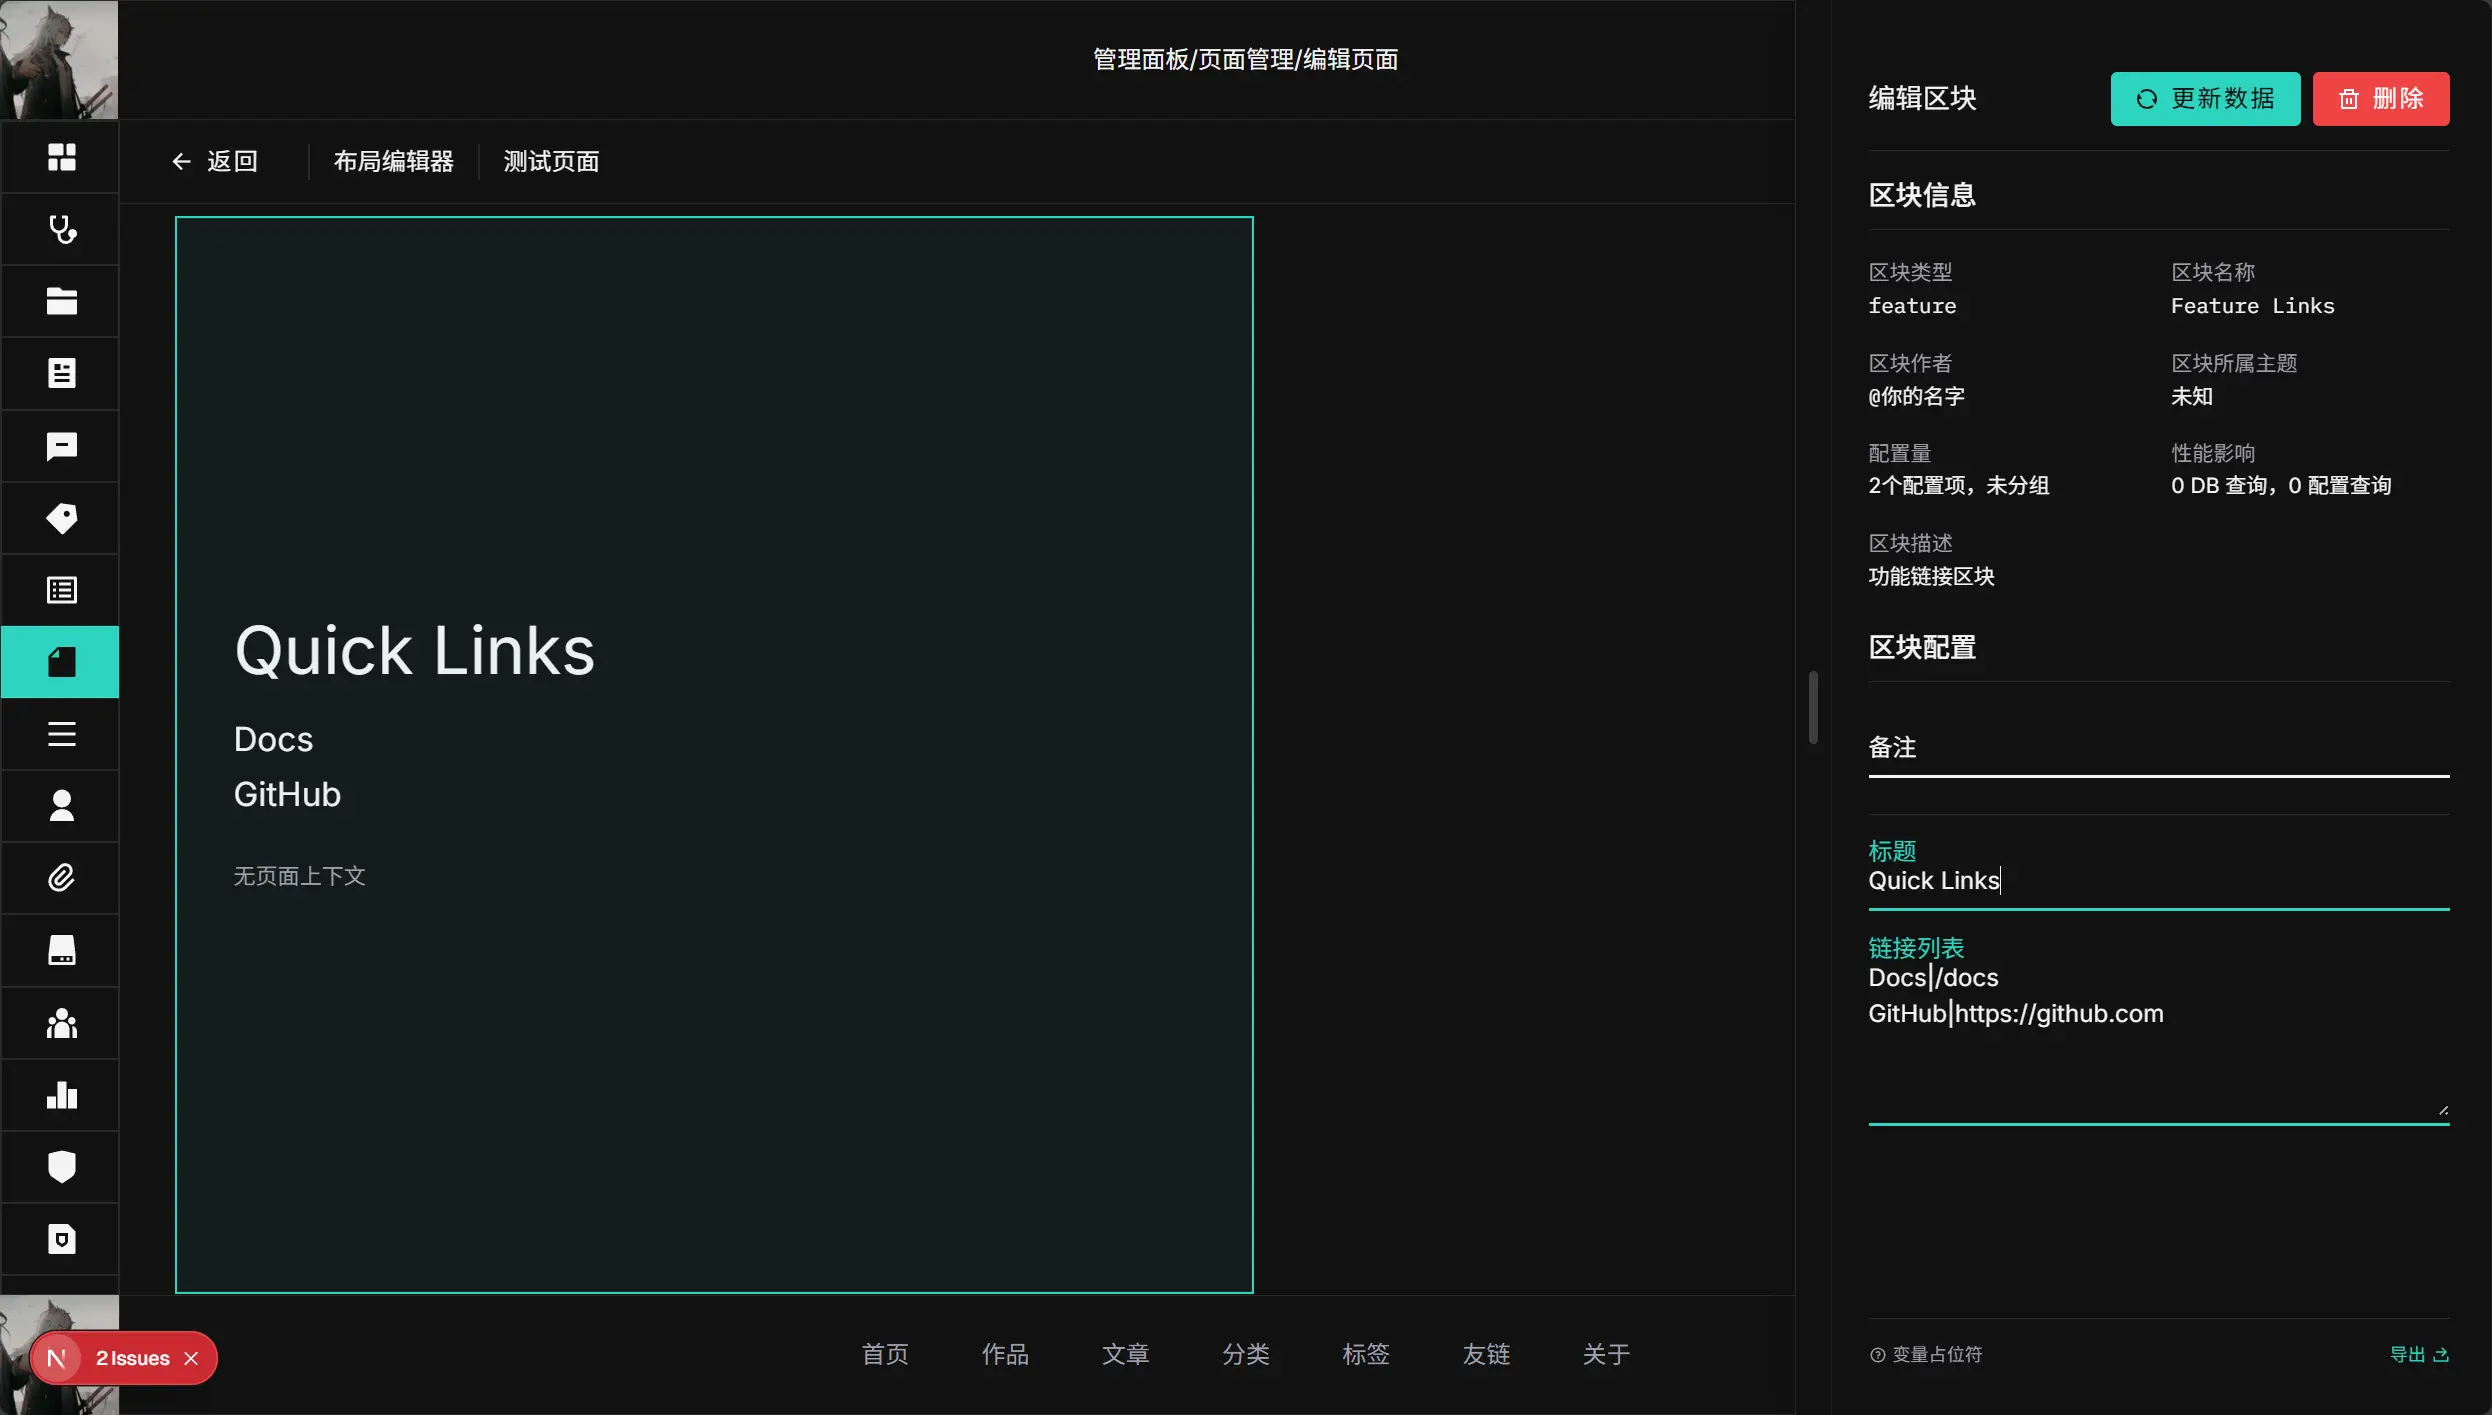
// 下面是在编辑器预览的时候显示的内容
previewData: {
title: "Quick Links",
links: ["Docs|/docs", "GitHub|https://github.com"],
},
};schema 的详细写法见:Schema API
步骤 4:写业务 fetcher
编辑 fetcher.ts,负责在运行时获取数据。
这里我们把编辑器输入的字符串数组解析成结构化数据,并根据上下文补充一段说明文字。
import type {
  FeatureContent,
  FeatureData,
} from "@/blocks/collection/Feature/types";
import type { RuntimeBlockInput } from "@/blocks/core/definition";

export async function featureBlockFetcher(
  config: RuntimeBlockInput,
): Promise<FeatureData> {
  const content = (config.content || {}) as FeatureContent;
  const context = (config.data || {}) as Record<string, unknown>;
  const links = (content.links || [])
    .map((item) => String(item).trim())
    .filter(Boolean)
    .map((line) => {
      const [label, href] = line.split("|").map((part) => part.trim());
      return {
        label: label || href || "未命名链接",
        href: href || "#",
      };
    });

  return {
    links,
    note: context.url ? `当前页面: ${String(context.url)}` : "在编辑器内",
  };
}
要求:
- 主导出名必须是
*Fetcher。 - 一个
fetcher.ts只保留一个主*Fetcher导出(自动发现依赖这个约束)。 - 建议把编辑器输入的字符串数组在
fetcher.ts内解析成结构化数据。
步骤 5:写组件
编辑 index.tsx,负责渲染 UI。
import type {
  FeatureBlockConfig,
  FeatureData,
} from "@/blocks/collection/Feature/types";
import type { BlockComponentProps } from "@/blocks/core/definition";
import { getBlockRuntimeData } from "@/blocks/core/runtime/envelope";
import RowGrid, { GridItem } from "@/components/client/layout/RowGrid";

export default function FeatureBlock({ block }: BlockComponentProps) {
  const content = (block.content || {}) as FeatureBlockConfig["content"];
  const data = getBlockRuntimeData<FeatureData>(block.runtime);

  return (
    <RowGrid>
      <GridItem
        areas={[1, 2, 3, 4, 5, 6, 7, 8, 9, 10, 11, 12]} // 在桌面端,占满 12 行
        width={1} // 宽是高度的 1 倍
        className="px-10 py-15 flex flex-col justify-center"
      >
        <h3 className="text-5xl mb-6">{content.title || "Feature"}</h3>
        <ul className="text-2xl space-y-2">
          {data.links.map((link) => (
            <li key={`${link.label}-${link.href}`}>
              <a href={link.href}>{link.label}</a>
            </li>
          ))}
        </ul>
        {data.note ? (
          <p className="mt-8 text-muted-foreground">{data.note}</p>
        ) : null}
      </GridItem>
    </RowGrid>
  );
}
说明:
- 区块组件请统一用
RowGrid + GridItem做布局编排。 areas是桌面端 12 行分区;移动端可通过mobileAreas与mobileIndex调整。RowGrid详解见:UI 布局与 RowGrid
步骤 6:写 definition
编辑 definition.ts,负责区块的元信息与加载逻辑。
import { createBlockDefinition } from "@/blocks/core/definition";

export const featureBlockDefinition = createBlockDefinition({
  // 区块类型标识符
  type: "feature",
  // 动态 schema 与组件
  schema: () =>
    import("./schema").then(
      (schemaModule) => schemaModule.FEATURE_BLOCK_FORM_CONFIG,
    ),
  component: () =>
    import("./index").then((componentModule) => componentModule.default),
  // 业务逻辑能力
  capabilities: {
    context: "inherit",
    placeholders: {
      enabled: true,
      source: "content",
      withContext: true,
    },
    media: [],
  },
});
重点:
definition.ts不要导入fetcher.ts(否则会引入客户端server-only问题)。
步骤 7:让系统发现新区块
- 确保目录是
apps/web/src/blocks/collection/Feature。 - 运行:
pnpm --filter web generate:blocks
# 或者运行整个预构建流程,此流程会在构建之前自动运行
pnpm --filter web build:pre
该命令会自动生成:
apps/web/src/blocks/core/generated/block-definitions.ts(客户端 definition 列表)apps/web/src/blocks/core/generated/business-fetcher-catalog.ts(服务端 fetcher 映射)